Master Non-Printing Characters in Microsoft Word
Ever struggled with hidden formatting issues in your Word documents? Non-printing characters are your secret weapon for creating polished, error-free documents. These invisible markers—like paragraph breaks and spaces—reveal the structure of your text, helping you spot formatting problems before printing or sharing. Let’s explore why they matter and how to use them effectively.
Why Non-Printing Characters Matter
Non-printing characters act as a digital roadmap for your document. They show where paragraphs end, where tabs are placed, and how sections are divided. Without them, you might accidentally merge text, create awkward line breaks, or miss extra spaces. For example, a single hidden paragraph mark could cause a section to start on a new page when you don’t want it to.
Common Non-Printing Characters
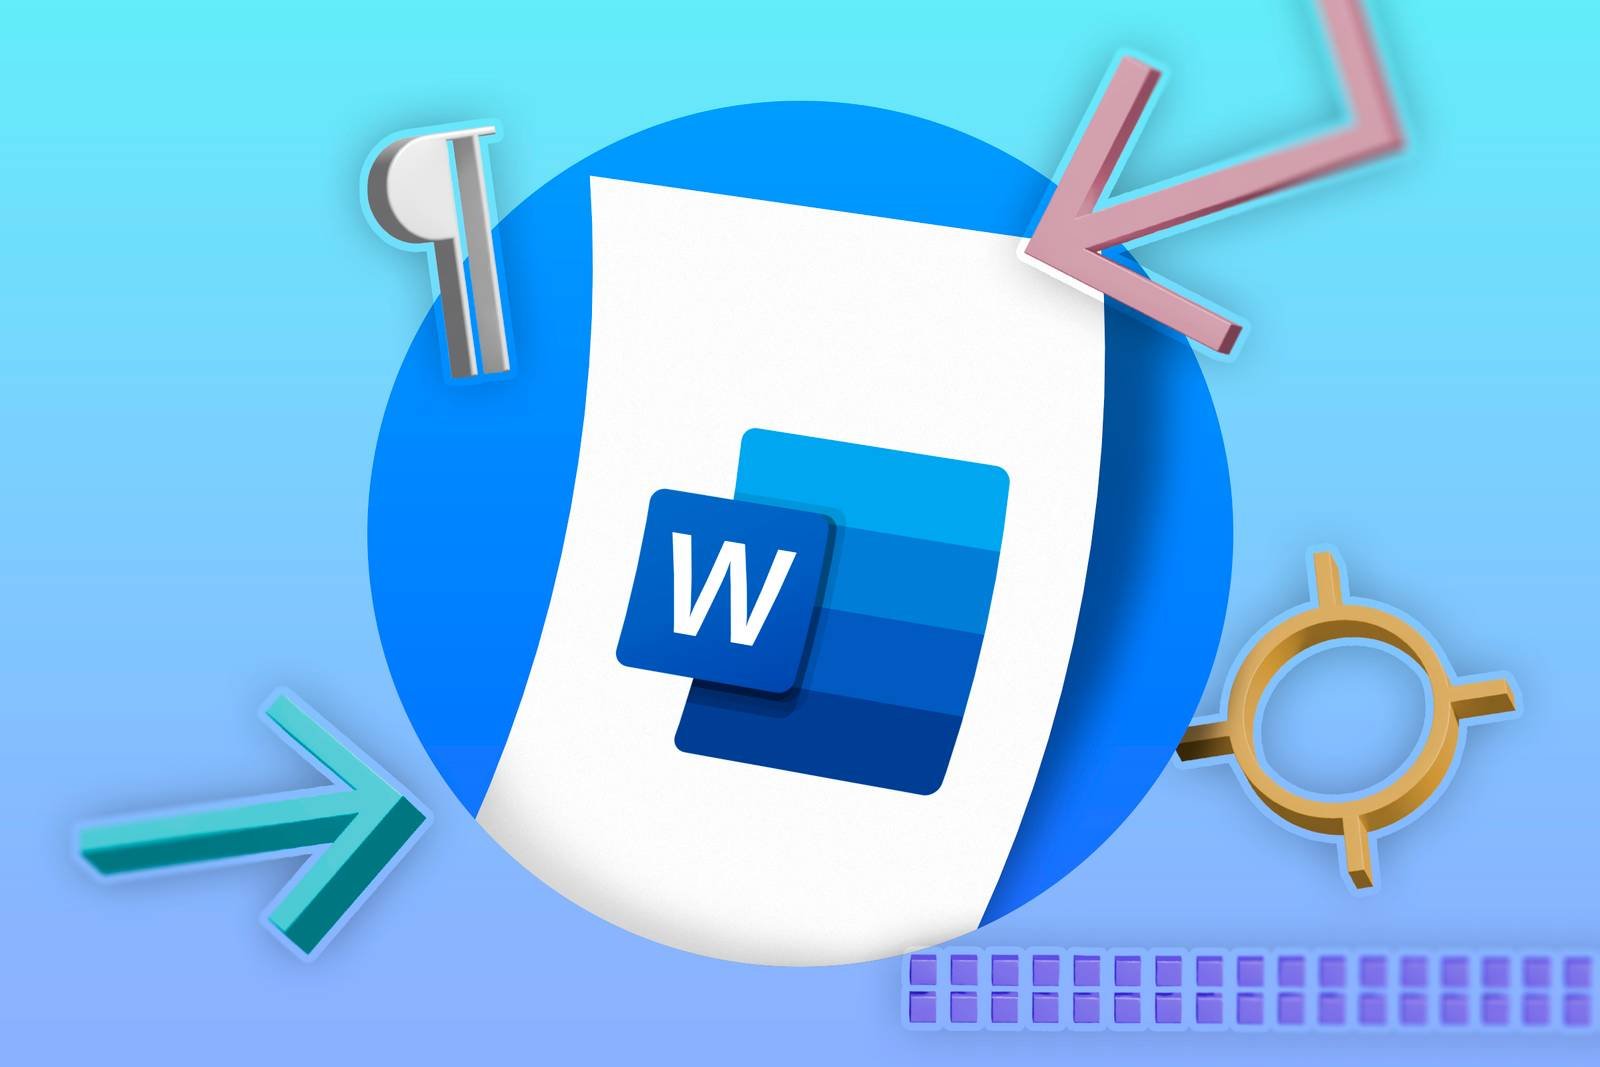
- Paragraph marks (¶): Show where each line of text ends.
- Spaces (·): Highlight extra or missing spaces between words.
- Tab characters (→): Reveal alignment issues in tables or lists.
- Section breaks (—): Indicate page layout changes.
How to Use Non-Printing Characters in Word
Enabling non-printing characters is simple. In Word, click the ¶ icon in the toolbar or press Ctrl+Shift+8 (Windows) or Cmd+Option+8 (Mac). Here’s how to leverage them:
Fix Formatting Glitches
Use paragraph marks to identify where text jumps unexpectedly. If a heading appears misaligned, check for hidden breaks or extra spaces. For example, a misplaced tab character might push text to the right when you intended it to start fresh.
Improve Readability
Non-printing characters help you spot overuse of spaces or inconsistent line breaks. For instance, multiple spaces between words (often a habit from typewriters) can disrupt your document’s flow. Replace them with a single space for cleaner text.
Debug Page Layouts
Section breaks and page breaks (shown as dotted lines) let you control where content starts. If a table or image appears in the wrong place, check for hidden breaks pulling it to a new page.
Pro Tips for Advanced Users
- Customize Display Settings: Right-click the ¶ icon to toggle specific characters (e.g., show only paragraph marks).
- Use Find/Replace: Search for non-printing characters by typing
^p(paragraph) or^t(tab) in the Find box. - Automate with Macros: Create macros to clean up extra spaces or breaks in bulk.
Conclusion: Your Document’s Hidden Helper
Non-printing characters are a game-changer for anyone who wants to create professional-looking documents. By revealing hidden formatting, they save time and reduce errors. Whether you’re drafting a report, designing a brochure, or formatting a resume, these invisible tools make your work shine. Start using them today and watch your productivity soar!
Ready to master Word? Explore more tips in our Microsoft Office guides or share your questions in the comments below.