
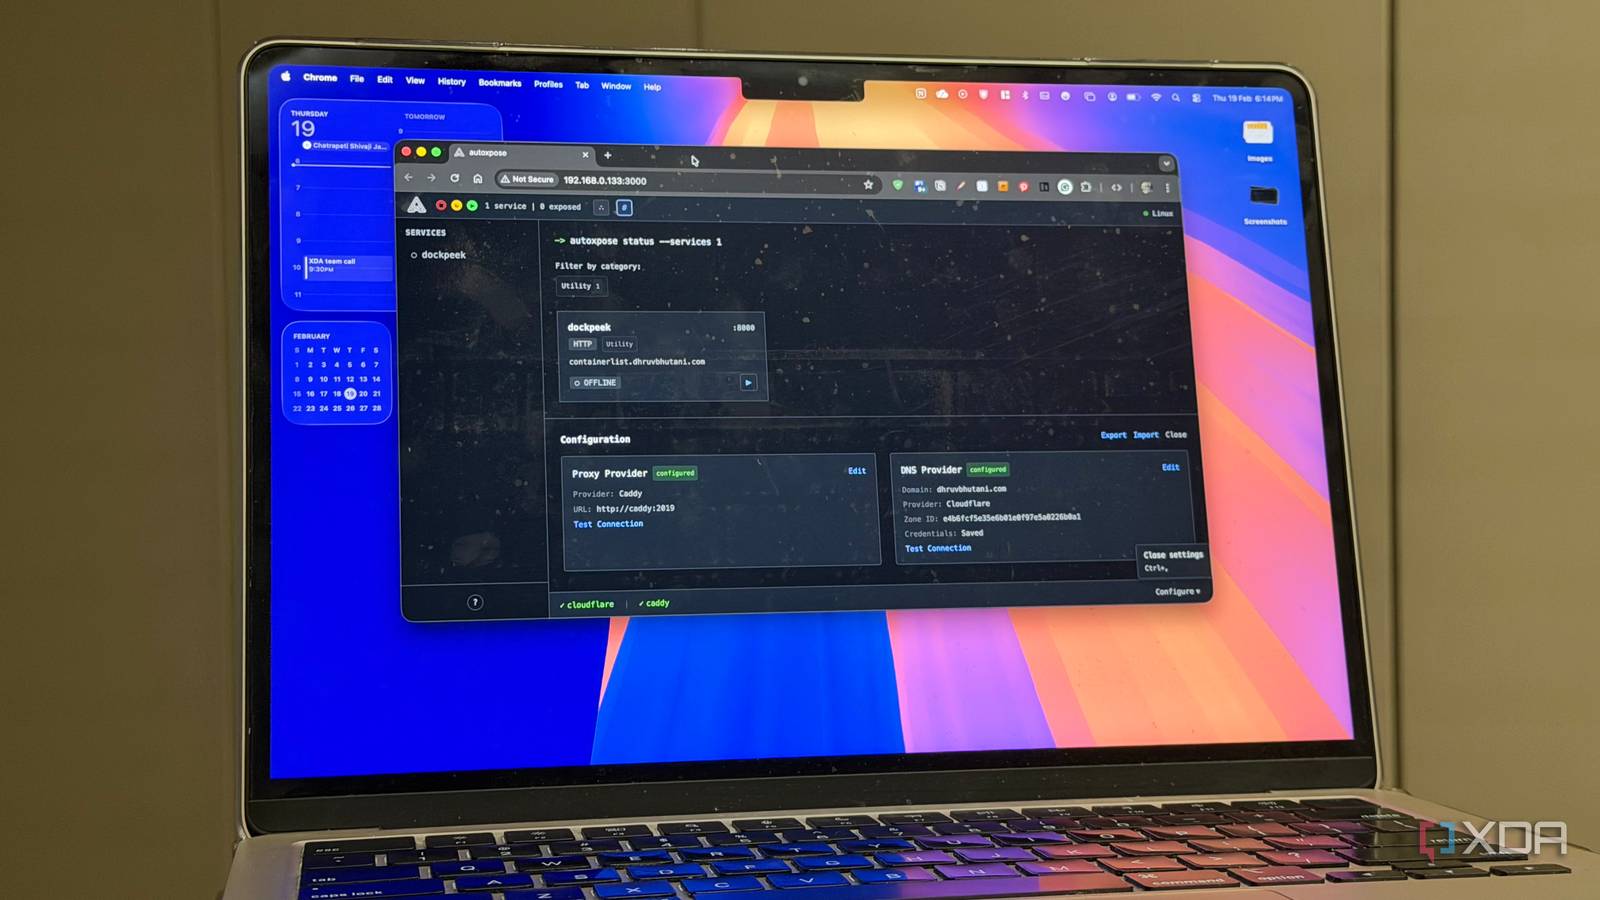
Simplifying Reverse Proxy with Docker
Have you ever struggled with setting up a reverse proxy for your web applications? I know I have. However, I recently discovered a simple Docker tool that finally fixed my reverse proxy headache. In this article, we’ll explore how to use this tool to simplify your reverse proxy setup.
What is Reverse Proxy?
A reverse proxy is a server that sits between your web applications and the internet. It acts as a gateway, forwarding requests from clients to your servers and returning responses to the clients. Meanwhile, it can also provide additional features like load balancing, caching, and security.
For example, you can use a reverse proxy to distribute traffic across multiple servers, improving the scalability and reliability of your web applications. Additionally, a reverse proxy can help protect your servers from attacks by hiding their IP addresses and filtering out malicious traffic.
The Simple Docker Tool
The tool I discovered is called Docker. Docker is a containerization platform that allows you to package your web applications and their dependencies into containers. These containers can then be easily deployed and managed on any server that supports Docker.
Therefore, you can use Docker to create a reverse proxy container that sits in front of your web applications. This container can be configured to forward requests to your applications and return responses to the clients. Furthermore, you can use Docker’s built-in networking features to create a secure and scalable reverse proxy setup.
Benefits of Using Docker
Using Docker to simplify your reverse proxy setup has several benefits. Firstly, it allows you to create a consistent and reproducible environment for your web applications. Secondly, it makes it easy to scale your applications horizontally by adding more containers. Finally, it provides a secure way to deploy and manage your applications, as each container runs in isolation from the others.
The following are some key benefits of using Docker for reverse proxy:
- Consistent environment
- Easy scaling
- Secure deployment
Setting Up the Reverse Proxy
To set up the reverse proxy using Docker, you’ll need to create a Docker container that runs a reverse proxy server. You can use a pre-built image from Docker Hub or create your own custom image.
For example, you can use the official Nginx image from Docker Hub. Nginx is a popular reverse proxy server that can be easily configured to work with Docker.
Once you’ve created the container, you can configure it to forward requests to your web applications. You’ll need to create a configuration file that specifies the upstream servers and the routing rules.
Configuration Example
Here’s an example configuration file for Nginx:
         http {
            upstream backend {
               server localhost:8080;
            }
            server {
               listen 80;
               location / {
                  proxy_pass http://backend;
                  proxy_set_header Host $host;
                  proxy_set_header X-Real-IP $remote_addr;
               }
            }
         }
This configuration file tells Nginx to forward requests from port 80 to the upstream server running on port 8080.
Conclusion
In conclusion, setting up a reverse proxy using Docker is a simple and efficient way to improve the scalability and security of your web applications. By using a Docker container to run a reverse proxy server, you can create a consistent and reproducible environment for your applications and easily scale them horizontally.
Therefore, if you’re looking for a simple and effective way to set up a reverse proxy, I highly recommend using Docker. With its easy-to-use interface and flexible configuration options, Docker makes it easy to create a secure and scalable reverse proxy setup.
Finally, don’t forget to check out the following FAQs for more information on using Docker for reverse proxy:
Frequently Asked Questions
- What is a reverse proxy, and how does it work?
- How do I configure Nginx as a reverse proxy server?
- Can I use Docker to set up a load balancer?
- How do I secure my reverse proxy setup?
- What are some common use cases for reverse proxy?